Every parent knows that diaper changing time can feel like a mini adventure. Sometimes it’s quick and easy, other times it’s messy, smelly, and stressful.
But here’s the truth: It might not be the easiest thing to do, but it can definitely be less overwhelming with the right preparation, safety practices, and some simple hacks.
After all, we all want to make diapering smoother, faster, and even a bonding moment with the baby.
In this guide, we will walk you through how to change a diaper, what not to do when changing a diaper, and the essential steps you can follow.
We’ll also cover common mistakes, newborn baby diapers, and why having a good baby diaper changing station matters. So without any further ado, let’s begin now!
Table of Contents
ToggleWhat Do You Need Before You Start
Before you even begin a baby diaper change, preparation is everything. Having the essentials ready saves you from panic when the mess happens. Below, you have your diaper changing starter kit:
- Newborn baby diapers (or the right size for your baby)
- Wipes or cotton + warm water (gentler for newborns)
- Diaper rash cream
- Changing pad or clean surface
- Fresh set of clothes
- Sanitizer or hand wash nearby
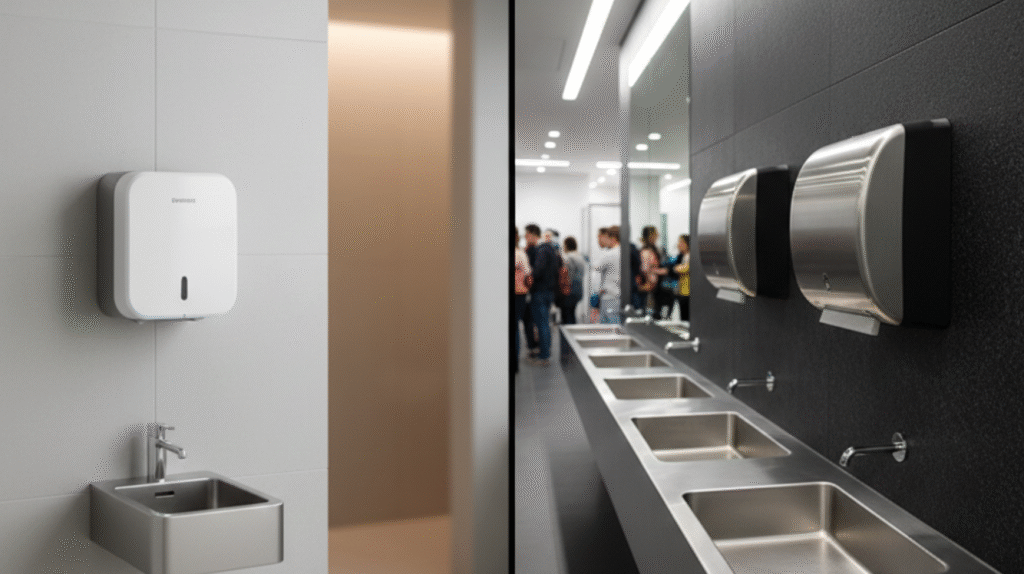
Now, there can be moments when you are using a changing station at home or in a public washroom.
In that case, make sure it is sturdy, hygienic, and within the reach of your hands. We, at Nova Tech, offer baby diaper changing stations that are designed specifically for comfort and hygiene.
How to Change a Diaper Step By Step
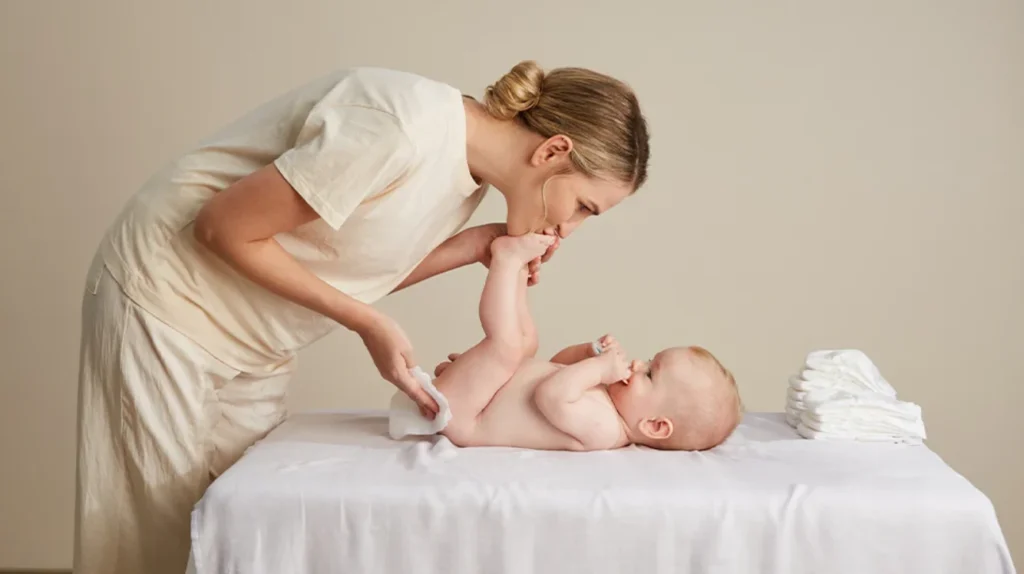
So, how do you change a diaper step by step without feeling lost? Here’s a foolproof method:
Step 1: Make sure to wash and sanitize your hands before you start. With Nova-Tech’s liquid soap dispensers infused with technology, this part becomes easy!
Step 2: Lay your baby safely on a changing pad or baby changing station. And yes, they will move a lot, so never leave them unattended.
Step 3: Now you have to hold the baby’s legs gently up by the ankle and unfasten the dirty diaper.
Step 4: In this step, you will wipe front to back. Please note that this is a crucial step, especially for the baby girls, to avoid infections.
Step 5: Once you wipe and wash, let the skin dry for a few seconds, as air-drying helps to prevent rashes.
Step 6: Apply a thin layer of cream so the new diaper does not immediately cause irritation to the skin.
Step 7: Now it’s time to put on the new diaper. For this, you can slide the clean diaper under. The back side goes under the baby’s bottom.
Step 8: Congratulate yourself because the tough part is over. This is when you just fasten the diaper snugly but not too tightly. Basically, you should be able to slide two fingers inside.
Step 9: Your work will be almost done once you dispose of the dirty diaper properly and seal it before tossing it.
Step 10: Lastly, wash your hands again as keygeine is the key every time!
This routine makes diaper changing time more predictable and keeps both you and your baby comfortable.
Important Safety & Hygiene Tips
One thing is clear: when it comes to baby diaper change, hygiene is everything! So here is what to keep in mind:
- Always wipe from front to back as it reduces the risk of infection.
- You should keep one hand on your baby when using a high surface.
- Do not reuse wipes or old diapers “just once more”
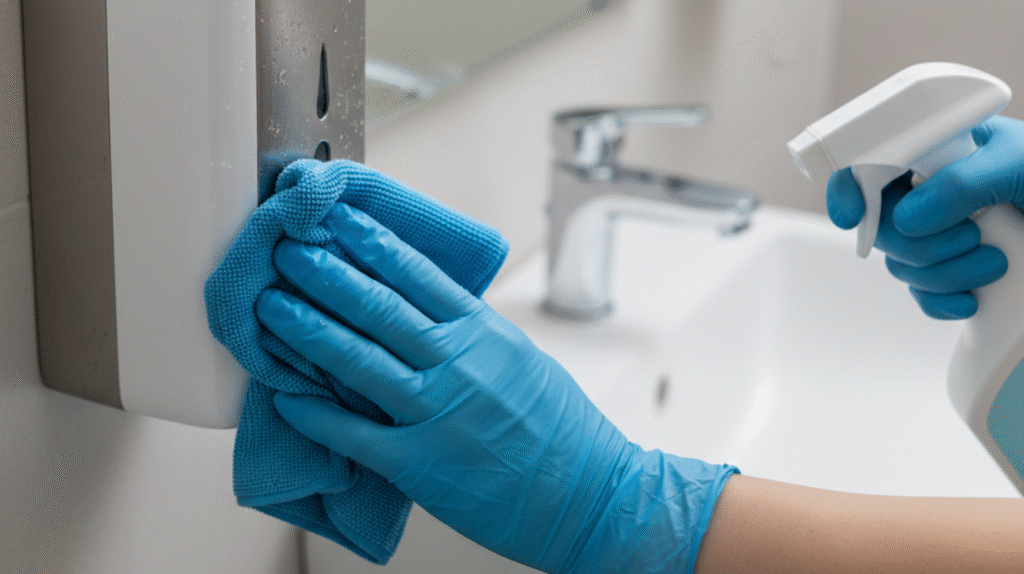
- Sanitize the baby station after every use.
- Keep the surfaces stocked so you are never scrambling mid-change.
Common Mistakes & How to Avoid Them
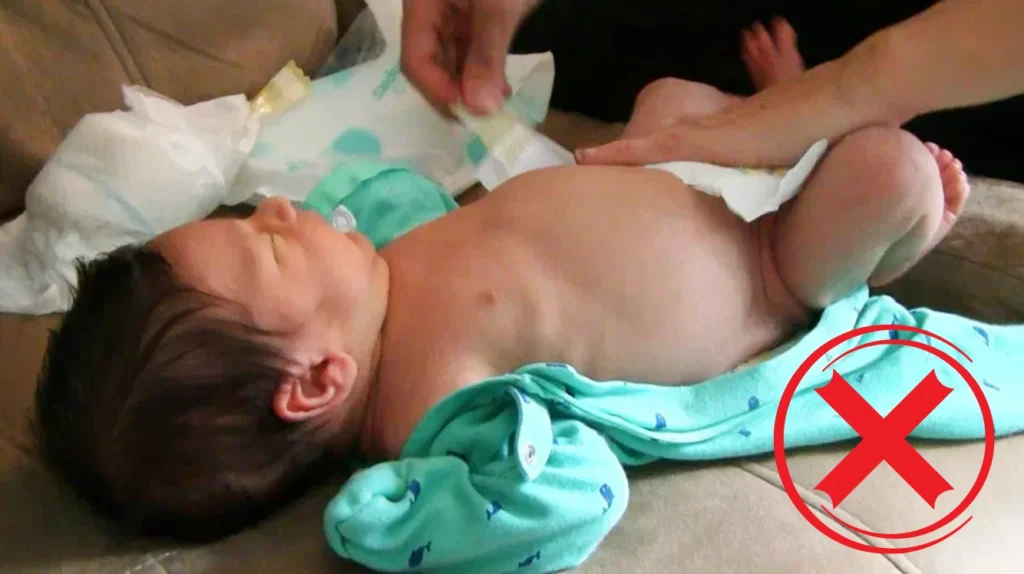
Parents often wonder what not to do when changing a diaper. And well, there are some common mistakes they all make which you can avoid:
- Choosing the wrong diaper size. Too big? Leaks. Too small? Rashes.
- Leaving the baby unattended. Believe us, even a few seconds can cause so much trouble.
- Fastening too tightly can cause discomfort to the baby, and well, that is equal to sleepless nights.
- Skipping diaper rash cream.
- Wet diapers left on too long cause irritation, so changing frequently is key, especially when dealing with a newborn who only sleeps, eats, and makes their diapers dirty.
Now that you’re aware of these mistakes, you can have a smoother diaper-changing experience and a happier baby!
Tips for Making Diaper Changes Less Stressful
Let’s be honest: not every baby diaper change will go smoothly. Babies wriggle, cry, or even surprise you with “round two.”
So, here are some hacks to handle those super stressful situations like a pro:
- Distract your baby by singing, talking, or giving them a toy.
- Set a routine for your kid by changing after feeds or naps.
- Keep the extra supplies in a portable diaper bag just in case you have emergencies outside.
- Breathe. Do not forget to remind yourself that this is temporary and a natural part of bonding with the child.
Conclusion
It’s high time we accept that changing diapers does not have to feel like a battle. With preparation, the right tools, and a step-by-step process, you will soon master how to change a diaper without any stress.
Basically you have to remember the basics: hygiene, safety, and patience. Whether it’s newborn baby diapers or toddler training, making diaper changing time smooth benefits both you and your little one.
Frequently Asked Questions
1. How to Change a Diaper with a Newborn
With a newborn, you have to be extra gentle. For your little one, you should use baby diapers that are designed for a smaller size and softer skin.
Also, you should always clean around the umbilical stump carefully and let it air dry. And well, as newborns soil diapers more often, you will have to change diapers frequently.
2. How often should you change a diaper?
On average, you should change a diaper every 2-3 hours or immediately after your baby soils it. For example, if you have a newborn, then expect 8-12 diaper changes a day.
3. How to make diaper changes less stressful?
Organizing supplies, distracting your baby, and staying calm are the major ways to keep the diaper duties less annoying. And a clean, sturdy changing station also reduces chaos.
4. When to introduce diaper cream?
Many parents introduce diaper cream only when a rash shows up. But you should use it as a preventive measure. If your baby’s skin looks red or irritated, you can apply a thin layer during each change.
5. What size diaper for a newborn?
Choose newborn baby diapers that are snug without leaving any marks on your skin. You will find that most of the brands have a dedicated “newborn” size. As your baby grows, you will have to keep the right guidelines on the pack in check.
Related Articles:
- Top 10 Small Bathroom Wall Tiles Design Ideas in 2025
- Top 10 Stunning Luxury Master Bathroom Ideas in 2025
- Elegant Washroom Accessories List for Your Bathroom
- 13 Modern Bathroom Design Ideas For A Contemporary Look
- Why Every Office Needs a Well-Designed Washroom
- How to Maintain Toilet Hygiene in Public Bathrooms?
- How to Set Up an Accessible Toilet for Any Restroom?
How useful was this post?
Click on a star to rate it!
Average rating 4.4 / 5. Vote count: 1984
No votes so far! Be the first to rate this post.


